Professional Tips for Architectural Photography
Professional Architectural Photography Tips, Of course you can’t find Architectural Photography Tips from the very first session.
You must be aware of the starting point, are you going to take architectural photos for an important request or for Instagram
But you don’t know what equipment you need and what kind of lighting to adjust.

Professional Tips for Architectural Photography
Here are the steps and tips
Select locations
Use the mobile apps to search for beautiful locations, you can find Spot, Google Maps, Scene Scout.
It is not difficult to find suitable themes for real estate photography in any city,
your choice can be located on buildings or structures that attract your attention or mean something to you.
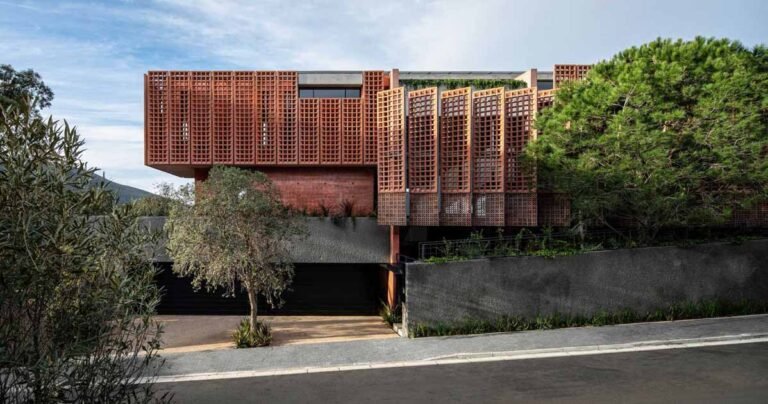
Architectural photographers often take pictures of government buildings, museums, and historical landmarks,
and these buildings usually look very interesting and beautiful.
Focus on the building
Many real estate photography lessons for beginners will teach you that the building is the center of the frame and that the remaining elements must complement it.
This way, you will get a harmonious picture but it is not necessary to place it in the center of the image, it is enough to focus on it only.
You can also fill in the image with details, photograph the building with other homes,
and pop it out of the usual photo as if you are isolating it.
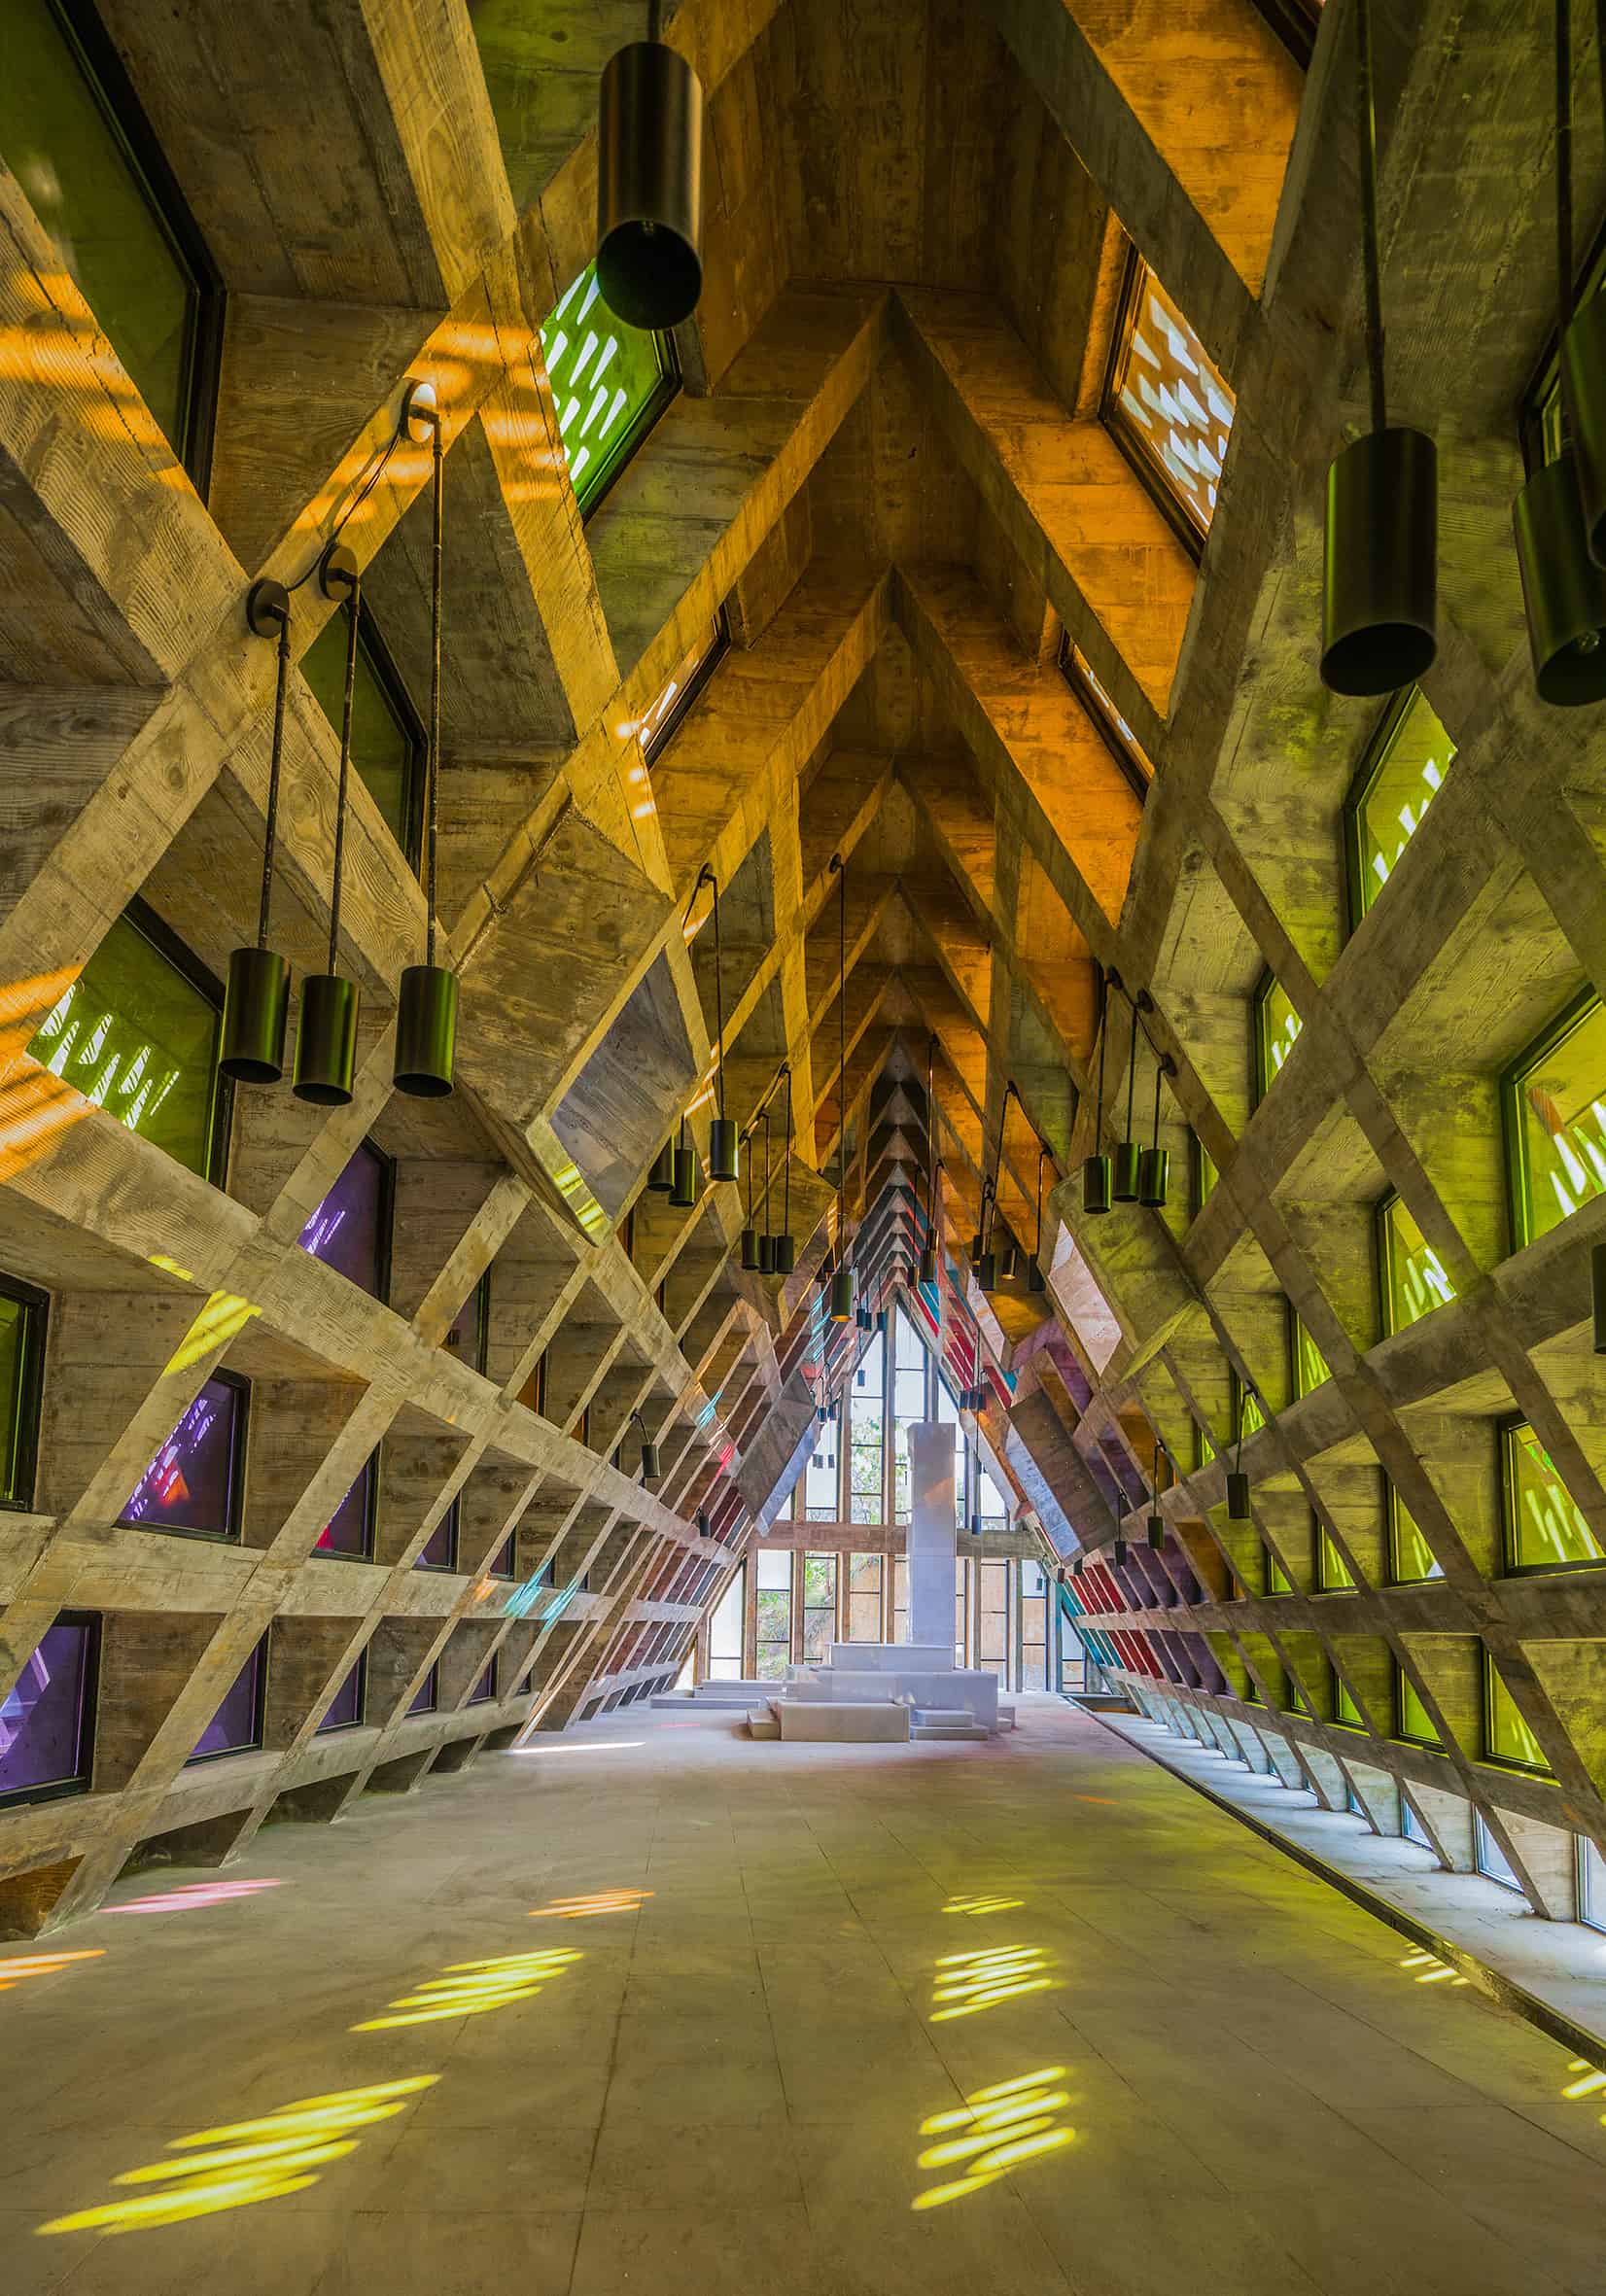
In addition to buildings, you can depict items, detail groups, wall partitions or houses, stairs, balconies and doorways.
3. Shooting in different weather conditions
Use apps that help you know the weather ahead of time, like WeatherBug, Weather Underground, and 1Weather.
It would be great to take the best photos during storms and when the sky is cloudy the dark sky,
rain and potential rainbow will create a wonderful atmosphere and improve the picture quality.
To get a good architectural picture, try to return to the same location several times during different weather to take more pictures of the building and find the best picture ever.
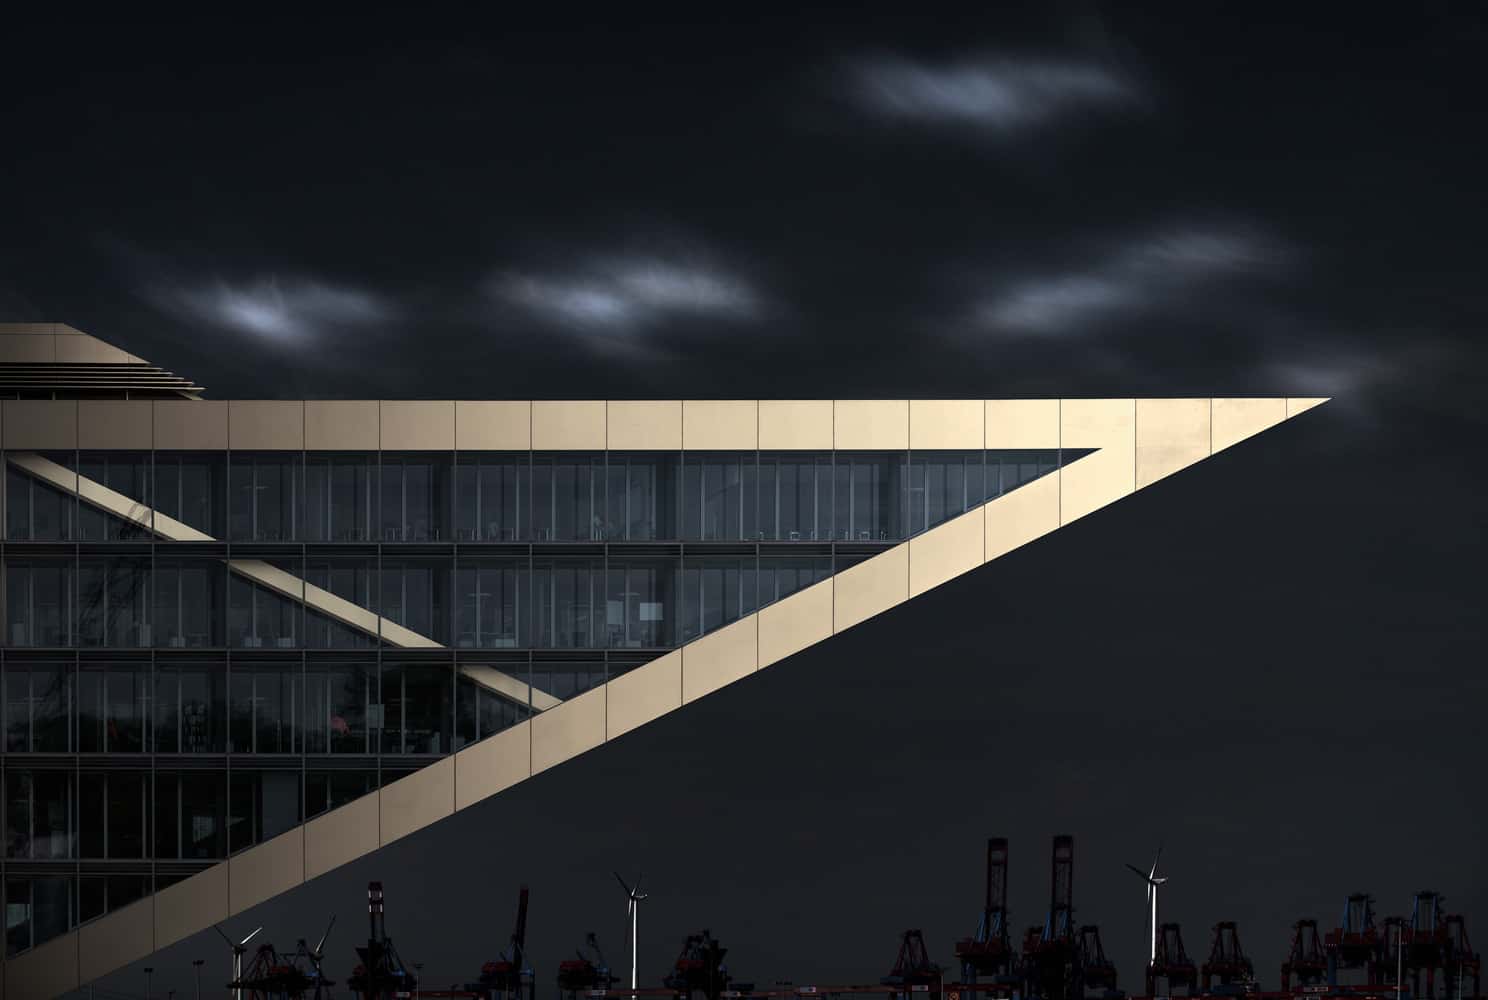
4. Use a new perspective
As you experiment with different perspectives, follow the basic rules of composition for great photos.
For example, you could use an arched pathway to frame the shot,
but you could also use architecture to depict leading lines and the symmetry and repetition of shapes.
When determining the visual centers, remember well the rule of thirds,
as the frame is usually divided by lines parallel to its sides, in proportions of 3: 5, 2: 3, or 1: 2.
The last option gives the frame to be divided into three equal parts (thirds) along each side,
and the grid created by the rule of thirds is used in the viewfinders for some cameras to simplify frame configuration.
5. Architectural photography in the evening
Evening time starts at 6 PM or 7 PM This is when you can discover an extra set of colors that gracefully illuminates separate elements of the buildings.
Wait for the evening lights to appear in the windows of the houses and the headlights of the cars,
now you have to find yourself a safe place with a fun perspective.
Mount the camera on a tripod or whatever you can count on and choose a shutter speed for a few seconds.
It is best to use a self-timer to ensure the good clarity of your building images,
and you can increase the exposure time to add dynamics to the image.
This way, you will be able to create a feeling of people moving inside the building or on the street, or the beautiful buoyancy of clouds.
Keep a tripod close to hand
The tripod is a tripod device that holds a DSLR camera,
You can select and capture the image steadily, this mount eliminates vibrations,
you will avoid blurry photos and be able to capture clear photos with slow shutter speeds,
which are useful for night portraits or architecture photography.
The best tripods are designed by Manfrotto, Neewer and Vanguard and they are very high (63 inches and made of aluminum material).
Use a polarizing filter for outdoor surfaces
What is a polarization candidate?
It is an inexpensive accessory that helps you create better images.
Polarizers manage the reflected light, meaning they easily control the reflections from windows or water.
Even if you don’t have obvious reflective lighting effects, the polarizers will make the sky appear bluer.
Amazon Basics Circular Polarizer is a great choice as it makes the blue sky more intense,
and due to its multiple layers, it may reduce or eliminate glare and reduce reflection as well.
Take HDR photos of architecture
HDR can be used a lot as it is a good idea for architectural photography.
You can achieve this effect through the camera, presets, or special applications such as EasyHDR and AuroraHDR.
In addition, it can solve the potential over or underexposure issue when you are unable to use your lighting setting.
If you need to show some detail outside the window and in the room, HDR can help you do just that.
Take multiple photos of the same place
If you come to the same place from time to time, you will be able to show new layers in architecture,
which you can use to convey information about the building’s development or decline over time.
Photographing a new building is great and fun but it is best to check this building after one photo from time to time,
it may only be possible to see the really interesting aspects of the building with the passage of time.
Pay attention to the reflections
Sometimes there are buildings, especially in modern areas of the city, made entirely of glass, from top to bottom.
These buildings can be used as impressive reflective surfaces that offer a range of compositional techniques, such as symmetry and patterns.
In addition, you can use the reflective properties of various pools and tanks, sunglasses, and car windows, as the images of these buildings are reflected.
Find lines and shapes
Lines and shapes are important for architectural images and very useful for photographers.
You should look for horizontal, diagonal, or vertical lines to move your eyes through the image.
Leading lines can show structure and draw attention to the subject, and lines also create emotional associations,
the tilted body gives a sense of movement, and if the movement is horizontal it gives calm, while vertical it gives strength or growth.
You won’t see many curved lines in architecture, but they create a natural feel because they are usually found in nature, rather than in built structures.
In the end, you can produce an expressive image of the building to be photographed with a little professionalism,
and when you see it, you feel that you see the same building in a different way from its reality, which is more beautiful and attractive.
You May Like: Exterior Design Tips