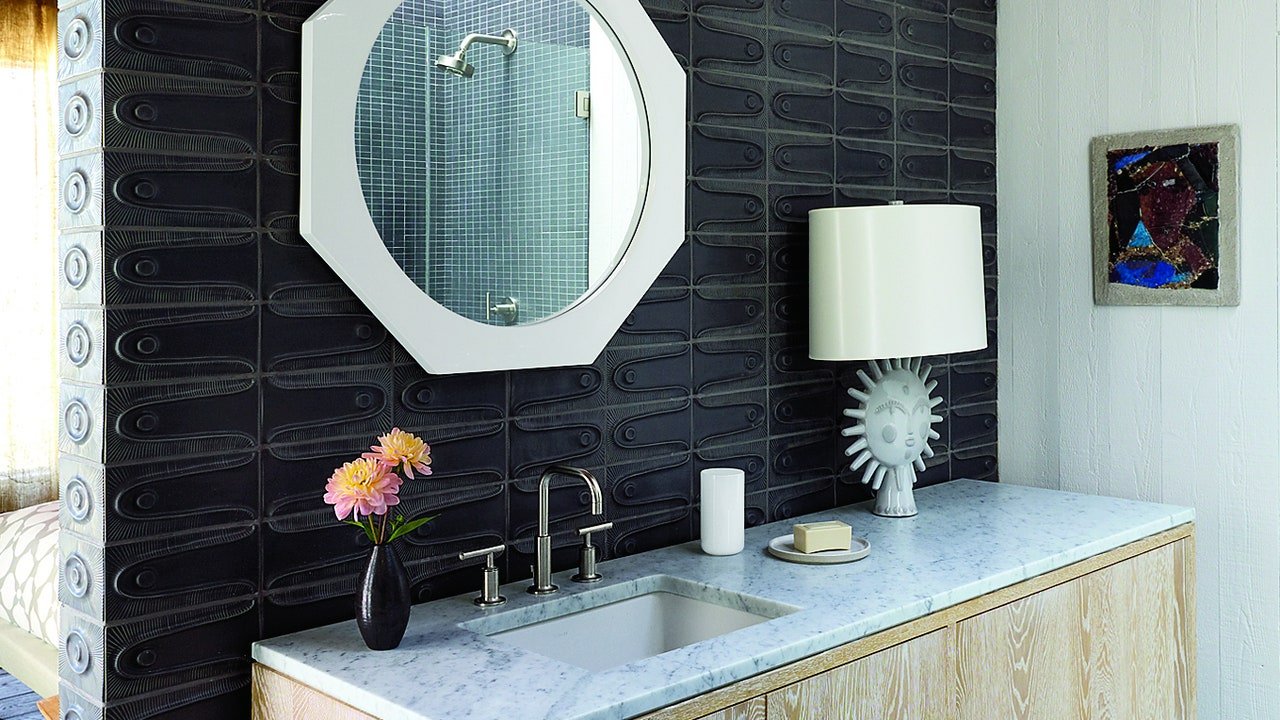
Right here’s Tips on how to Refresh That Boring Mirror
After taking all of these measurements, you’ll be able to determine the size of the frame and whether it will be attached to the wall or the mirror itself.
3. Cut the baseboards
Use a miter saw set at a 45-degree angle to cut your boards to the appropriate length. If you don’t have a miter saw, many home improvement stores, like Home Depot or Lowes, either sell pre-mitered trim or have equipment you can use in the store.
When you’re done, you’ll want to keep the four pieces of the MDF board apart, as you’ll eventually install them separately. It can help to lay them out flat just to make sure everything will line up correctly once you do hang up the mirror frame.
Alternatively, you can also use non-mitered boards with decorative corner block moldings. Note: If you are attaching the DIY frame to the wall, you will need to cut a notch (for the mirror) into the wood so the entire frame will sit flush with the wall.
4. Paint the Baseboards
After you’ve cut the baseboards to size, the real fun begins. It’s time to paint them. If you’re framing a bathroom mirror, it may make sense to coordinate the color with your vanity, but it’s really up to your creativity. Once you’ve selected your chosen hue, paint the boards on all sides using a roller, brush, or spray gun. Remember, no water-based paint!
Don’t forget to paint the back, because it will reflect in the mirror—crazy how mirrors do that. If your boards could benefit from a second layer, feel free to add that too. Let the paint dry for at least two hours.
5. Sand the baseboards
Lightly sand the baseboards with an extra fine sanding pad and then gently wipe them clean with a tack cloth.
You may want to apply a topcoat or sealer at this point, especially if your DIY is for a bathroom mirror where you could splash water on it. A polyurethane coat may work well, and you’ll be able to choose the sheen you like whether matte, satin, semi-gross, or high gloss.
Like the paint, make sure you’re using an oil-based product. This type of polyurethane can take longer to dry, so let your mirror frame sit for 4-8 hours.
6. Install the Mirror Frame
Once the paint is dry, it’s time to install the mirror frame. Starting with the bottom piece, apply liquid nails to the back of the board, avoiding the edge closest to the mirror. Press onto the mirror or wall, and use a level to make sure the frame is straight. Secure with painter’s tape to keep everything in place while the construction adhesive dries.
Repeat the process, adding the two side pieces next and finishing with the top. Wipe off any excess glue along the wall or mirror.
7. Touch Up the Frame
After the mirror frame has dried completely—about 24 hours—remove the painter’s tape and fix any uneven corners with caulk. Using a caulk gun, run a bead of silicone caulk along any gaps or joints and smooth with a wet finger. Once this has dried, touch up with paint.
8. Get Creative and Customize Your Mirror Frame
Using an MDF baseboard is certainly the easiest way to frame wall mirrors, but you can also use different materials to make a one-of-a-kind piece. There are plenty of DIY mirror frame ideas out there. If you like the look of wooden frames, try reclaimed wood boards for a rustic look or a bright paint color to coordinate with the wall color or wallpaper. You could even paint a specific design, add a textural element, or think about adding a string of lights to further make over your space. Your creativity is the limit with a task like this, and isn’t that the whole point of a DIY project after all?